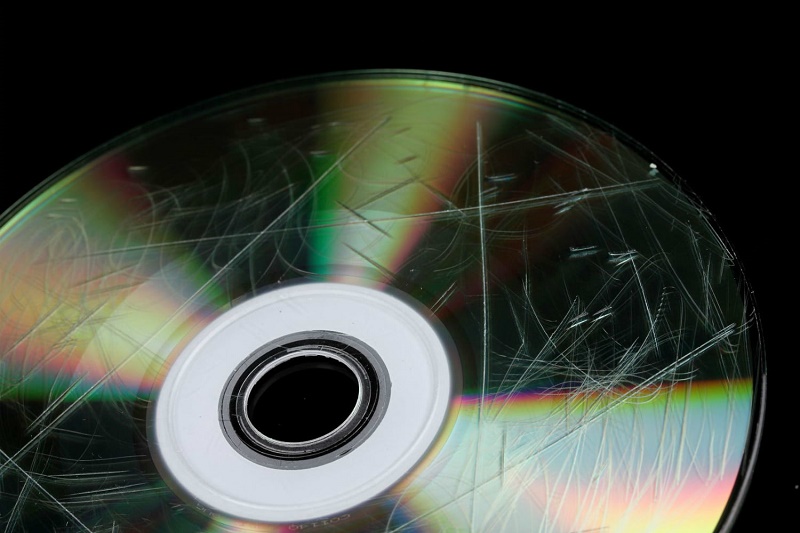
If you do not know what to do with your discs, we tell you how you can save them in an original way with these useful and simple crafts to make. Learn how to make these simple crafts to save your records. In the digital era, things from the past may be occupying a place in our house that we would like to use for other things. We refer to music or DVD CDs that you probably have in drawers or on poorly organized shelves.
It is normal that we feel sorry if we think about throwing them away; but quiet, there is no need to get rid of anything, we can find a great place to store your old records. Keep reading: 16 questions to ask a photographer before a photoshoot in wedding
It is very easy to get disorganized: who has never mixed bad CD cases? Therefore, in this article, we want to propose some ideas you can do yourself to keep them organized and save your disks in a simple and effective way.
Simple crafts to save your discs

It is very easy to stack or place the discs in any part of the house that we have free. But this can generate several risks because if a tower is made too high can fall and cause it to break some, or that spoil if we do not keep them clean and taken care of.
Therefore, we propose several more comfortable options that, in addition, will give a new touch to your home. Nothing like decorating your house with the music you love! We can create vases from the discs.
1. Torres
Perhaps it is the option to which people turn more, and it is simply because it is a perfect option to keep them and store them without putting them in danger.
We can buy a piece of furniture intended for this work, that is, a CD tower. There are several models, finished in wood or aluminum, some more elegant and others more casual bright colors and drawings.
But you also have the option of making your own disk tower in an artisanal way. We tell you how you can do it:
How this simple crafts is done:
To do it you will need to get a hard cardboard tube. We are not worth the paper kitchen, as it is necessary to have greater consistency.
Mark the length of the tower you are going to make and, with a pen, the place where the slots for the discs will go. We advise you to have a slight upward inclination so that they latch well and do not slip down.
The cardboard will support the discs since it is a material that will prevent them from falling. Then, paint and decorate to your liking and place it where you like best.
2. Shelves or shelves
The shelves or the shelves of the wall are another one of the options that you can shuffle to keep your disks; In addition, it is simple and you will surely find a free shelf in your home.

The idea is to have ended at the ends so that they do not fall on the sides; you can use the bookends that you have at home.
You can also paint the shelves or shelf or cover it with fabrics or ropes to give it a different touch. There is nothing better than letting the imagination fly and see where it takes us.
If you have a case that you will not use anymore, you can use it as a base to create a shelf or a shelf from scratch. That is, stick them on the wall horizontally and thus create the effect that the discs themselves are those that are sustained in the air.
3. Box

If you have a box that you will no longer use and is the appropriate size for all your discs, you can use it to store and organize them. Line the box to reinforce it and do not worry if you can not close it because the discs themselves will give color and personality to your home.
Next, we explain how to make a specially dedicated and personalized box to store your records.
Materials:
- Cardboard or wood box
- Cuttings of newspaper or magazine to decorate
- Glue
- Scissors
- Lija
- Brushes
- Sponge
- Color paints
- White glue
Development of the box:
- First sand the box so it does not have impurities or splinters.Pass the moistened sponge all over the surface.
- Once dry, apply the first coat of paint; select the color that you like best or the one that best matches the rest of the decoration.
When it’s dry, retrieve all the clippings from magazines and newspapers and start sticking them around the box to give it the look of a vintage box.
Once they are well glued, apply a layer of white glue to seal all the cuts; besides reinforcing it will give a touch of brightness.
Once dry, we will have a personalized box for our records. Put it in the corner of your house that you like and start to introduce the CD.
Having the disks organized and orderly means a waste of time that we may not have or are not willing to lose. Go ahead to organize your old records and enjoy as a family with these simple crafts. You may also like: http://dress24h.com/trends-street-fashion-spring-2018/


